Technology is advancing at an incredible pace, and one of the most exciting and promising developments is the creation of 3D tours using Matterport technology. These tours go beyond attractive images or video to offer a fully interactive experience that lets users explore spaces in real time. If you are considering a 3D tour for your business or project, this guide is for you.
Step 1: Define your goals and objectives
The first step in creating a 3D tour is to define what you want to achieve with it. You might want to showcase a property, present the interior of a restaurant or shop, or create a virtual museum tour. A clear understanding of your goals will help you establish the project requirements and choose the most suitable format.
Start by answering a few questions: What space would you like to present in 3D? Who is the tour’s target audience? What features and capabilities should the project include?
Step 2: Prepare the space
Once you have defined your goals and objectives, you need to prepare the space for capture. This involves getting the interior or outdoor area ready and choosing the best time for the session, taking lighting and other factors that may affect the final result into account.
Prepare the space carefully, as this directly affects the final result. Make sure everything that will appear in the 3D tour is tidy, well arranged and looks the way you want it to.
Step 3: Choose the equipment and technology
Matterport technology enables the creation of high-quality 3D tours using specialist equipment to scan spaces. This stage involves choosing a suitable scanner and data-processing software. Experienced specialists can help you select the best solution for your project, taking its complexity and requirements into account.
Matterport technology can be used to create both 3D models and virtual tours that can be viewed directly in a browser or through dedicated mobile apps. This opens up a wide range of applications for 3D tours, from property to education.
Step 4: Capture and post-processing
The capture process involves scanning the space with specialist equipment. This can take anywhere from a few hours to several days, depending on the size and complexity of the space. The captured data then undergoes post-processing, which includes processing the scan data, correcting errors and imperfections, and preparing the final product.
During post-processing, features and interactive elements are also added to make the 3D tour more engaging and useful. These may include descriptions, images, videos and other multimedia content.
Step 5: Publish and promote
Once post-processing is complete, the 3D tour is ready to publish. It can be shared on your website, on social media or on dedicated platforms for showcasing 3D content. To get the most out of your 3D tour, consider a promotion strategy that may include social media advertising, email marketing and other forms of online promotion.
Promoting your 3D tour may also involve integrating it into existing marketing campaigns, using it in presentations and at exhibitions, and showing it to potential customers or partners.

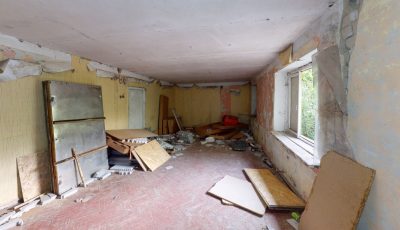
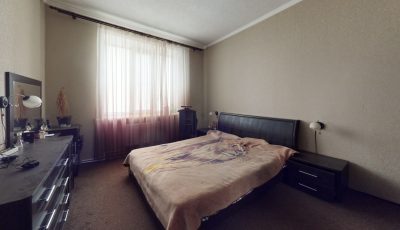

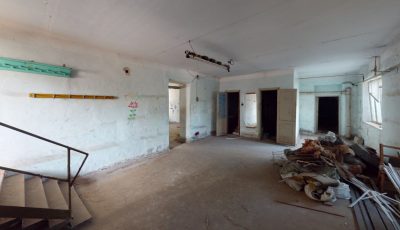
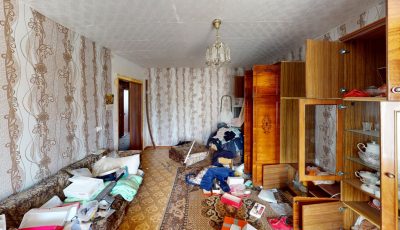

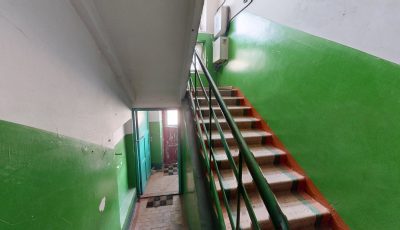
Now that you know how to request a 3D tour, it is time to start your project. A 3D tour created with Matterport technology can be a powerful tool for your business, opening up new ways to showcase and promote your space. Get started today and discover the benefits this technology offers.
Order a 3D tour for your property
Leave your contact — we'll respond within 30 minutes and calculate the cost